Laser engraving and marking of metal parts — logos, text, serial numbers, and QR codes
The same laser that cuts a part can also mark it permanently — with a logo, text, serial number, or QR code. We explain the difference between cutting, engraving, and marking, which method suits which material, and how to prepare a file with a separate engraving layer.
A fiber laser is not just a cutter. The same beam that passes straight through sheet metal can, at lower power, only disturb or discolour the surface — permanently burning a logo, text, serial number, or QR code onto the part. Laser marking is contactless, never wears out, and lasts for years, so it suits both production traceability and branding.
Cutting vs. engraving vs. marking
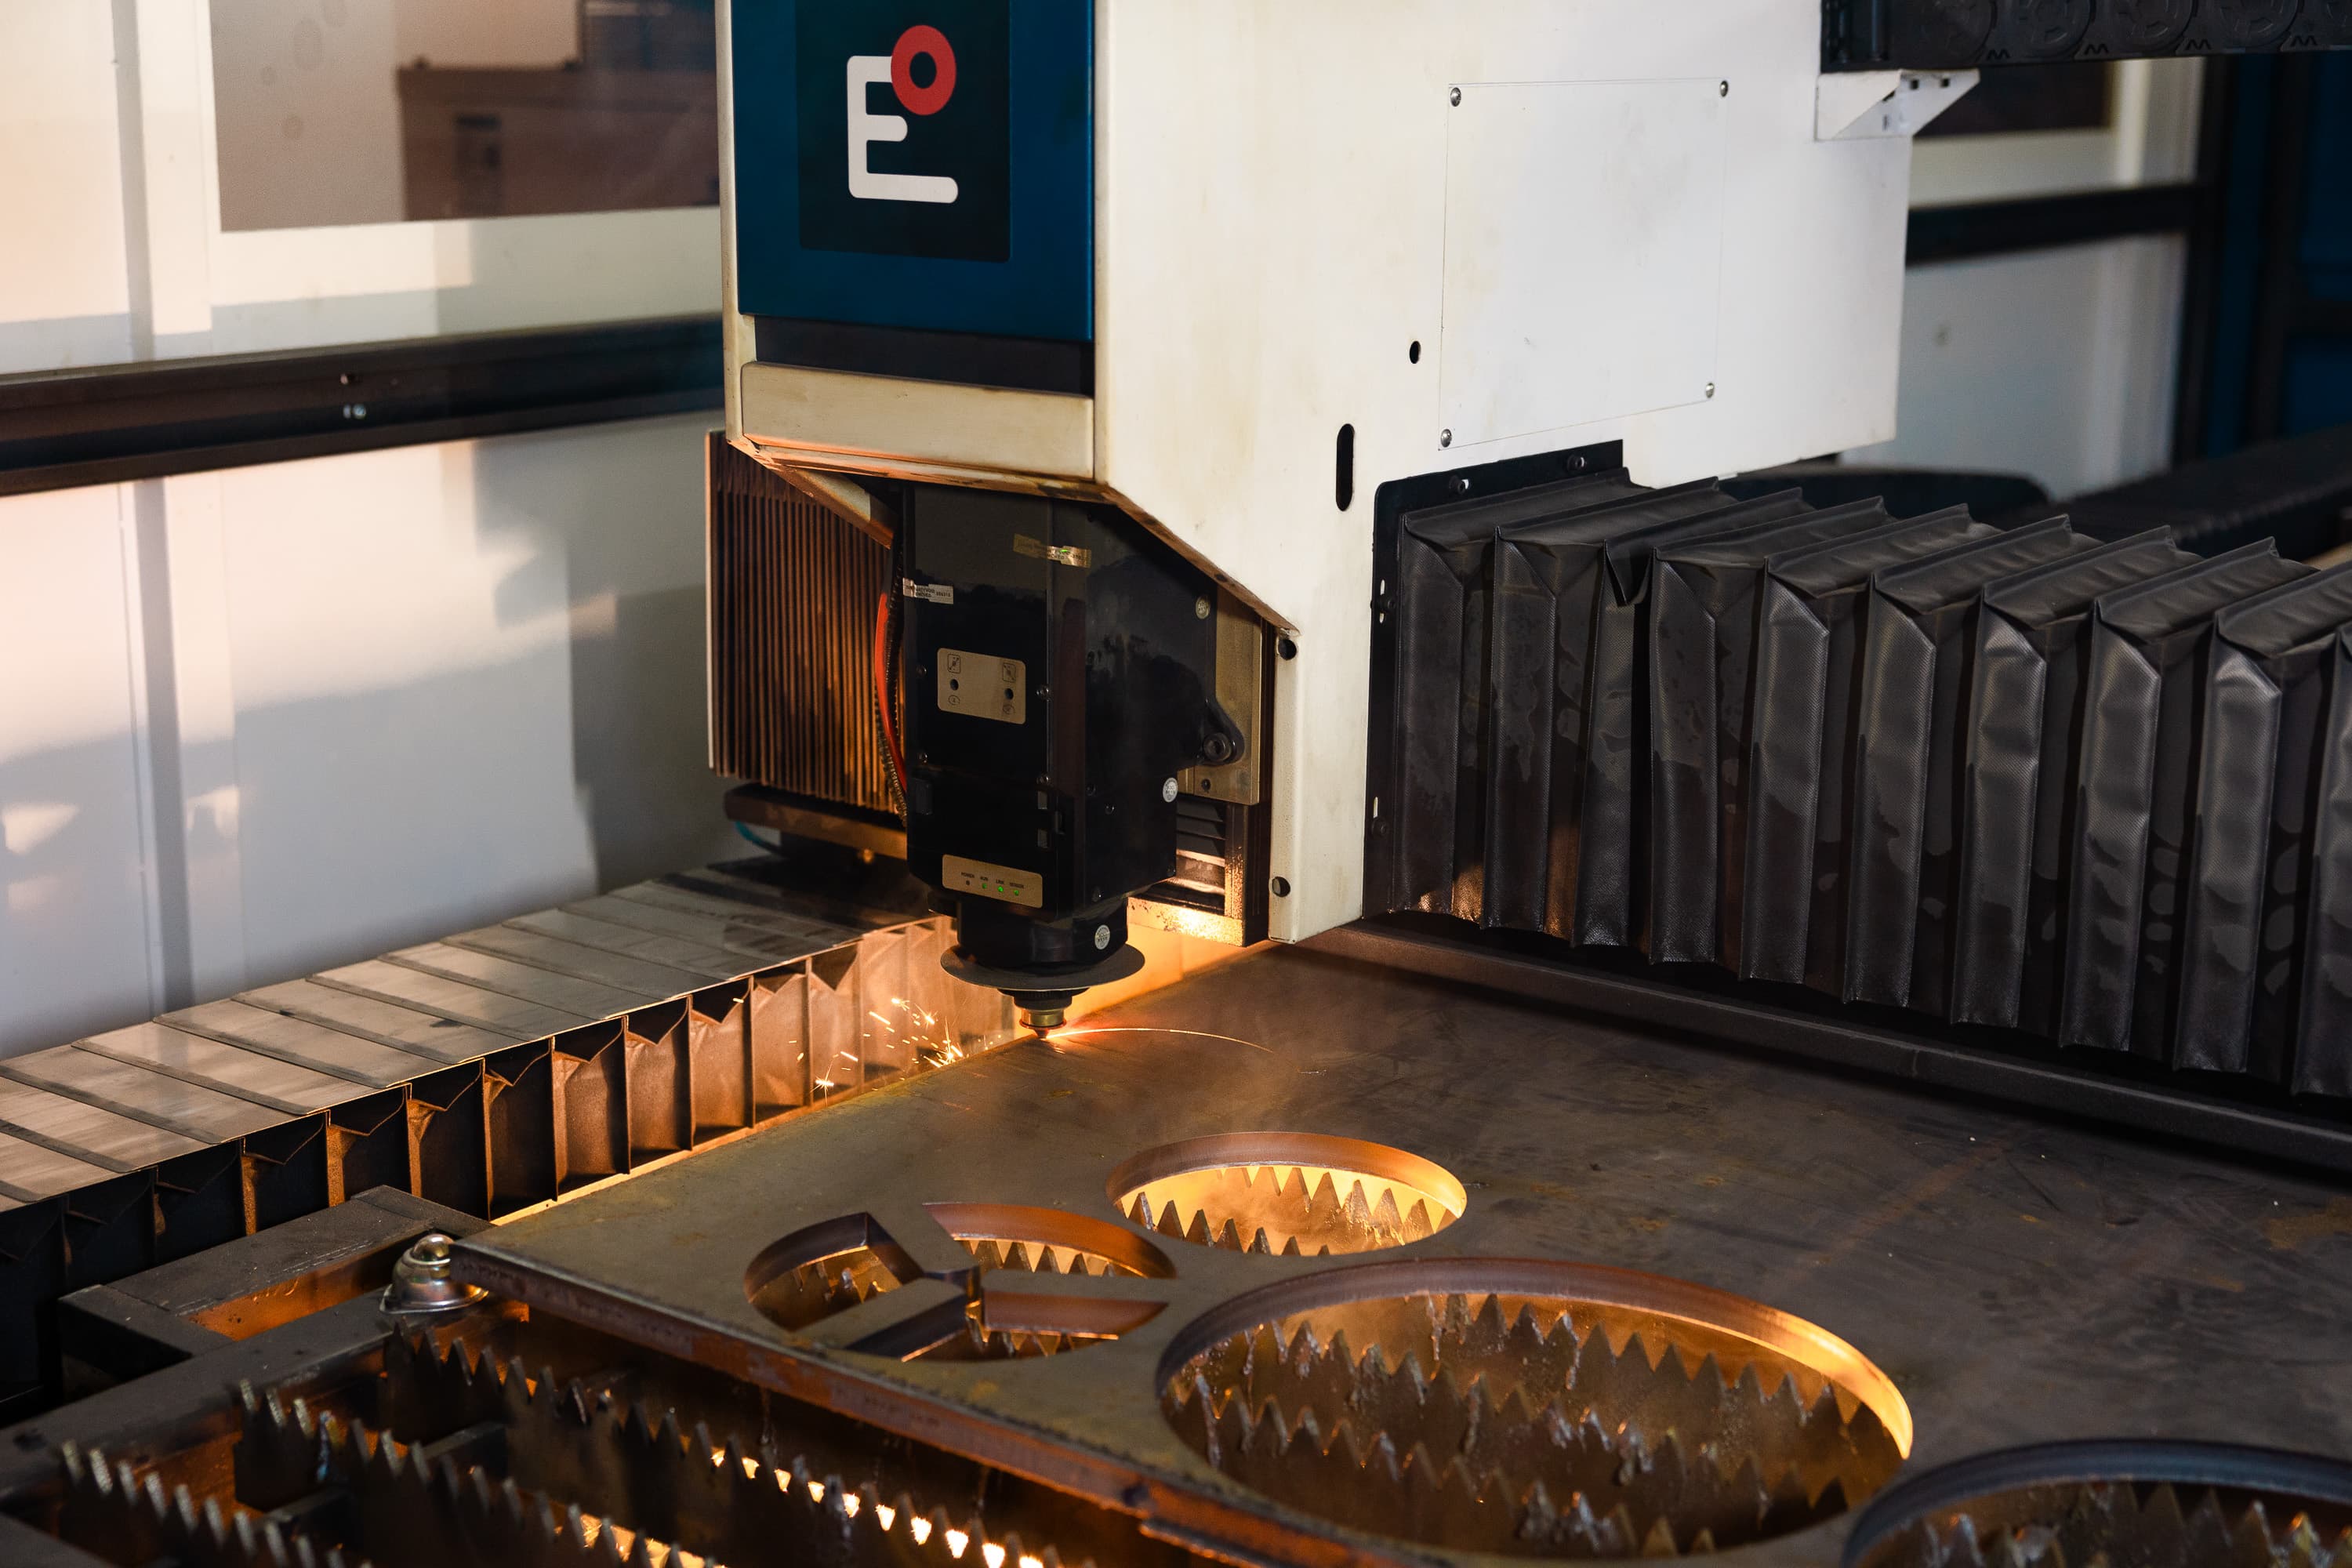
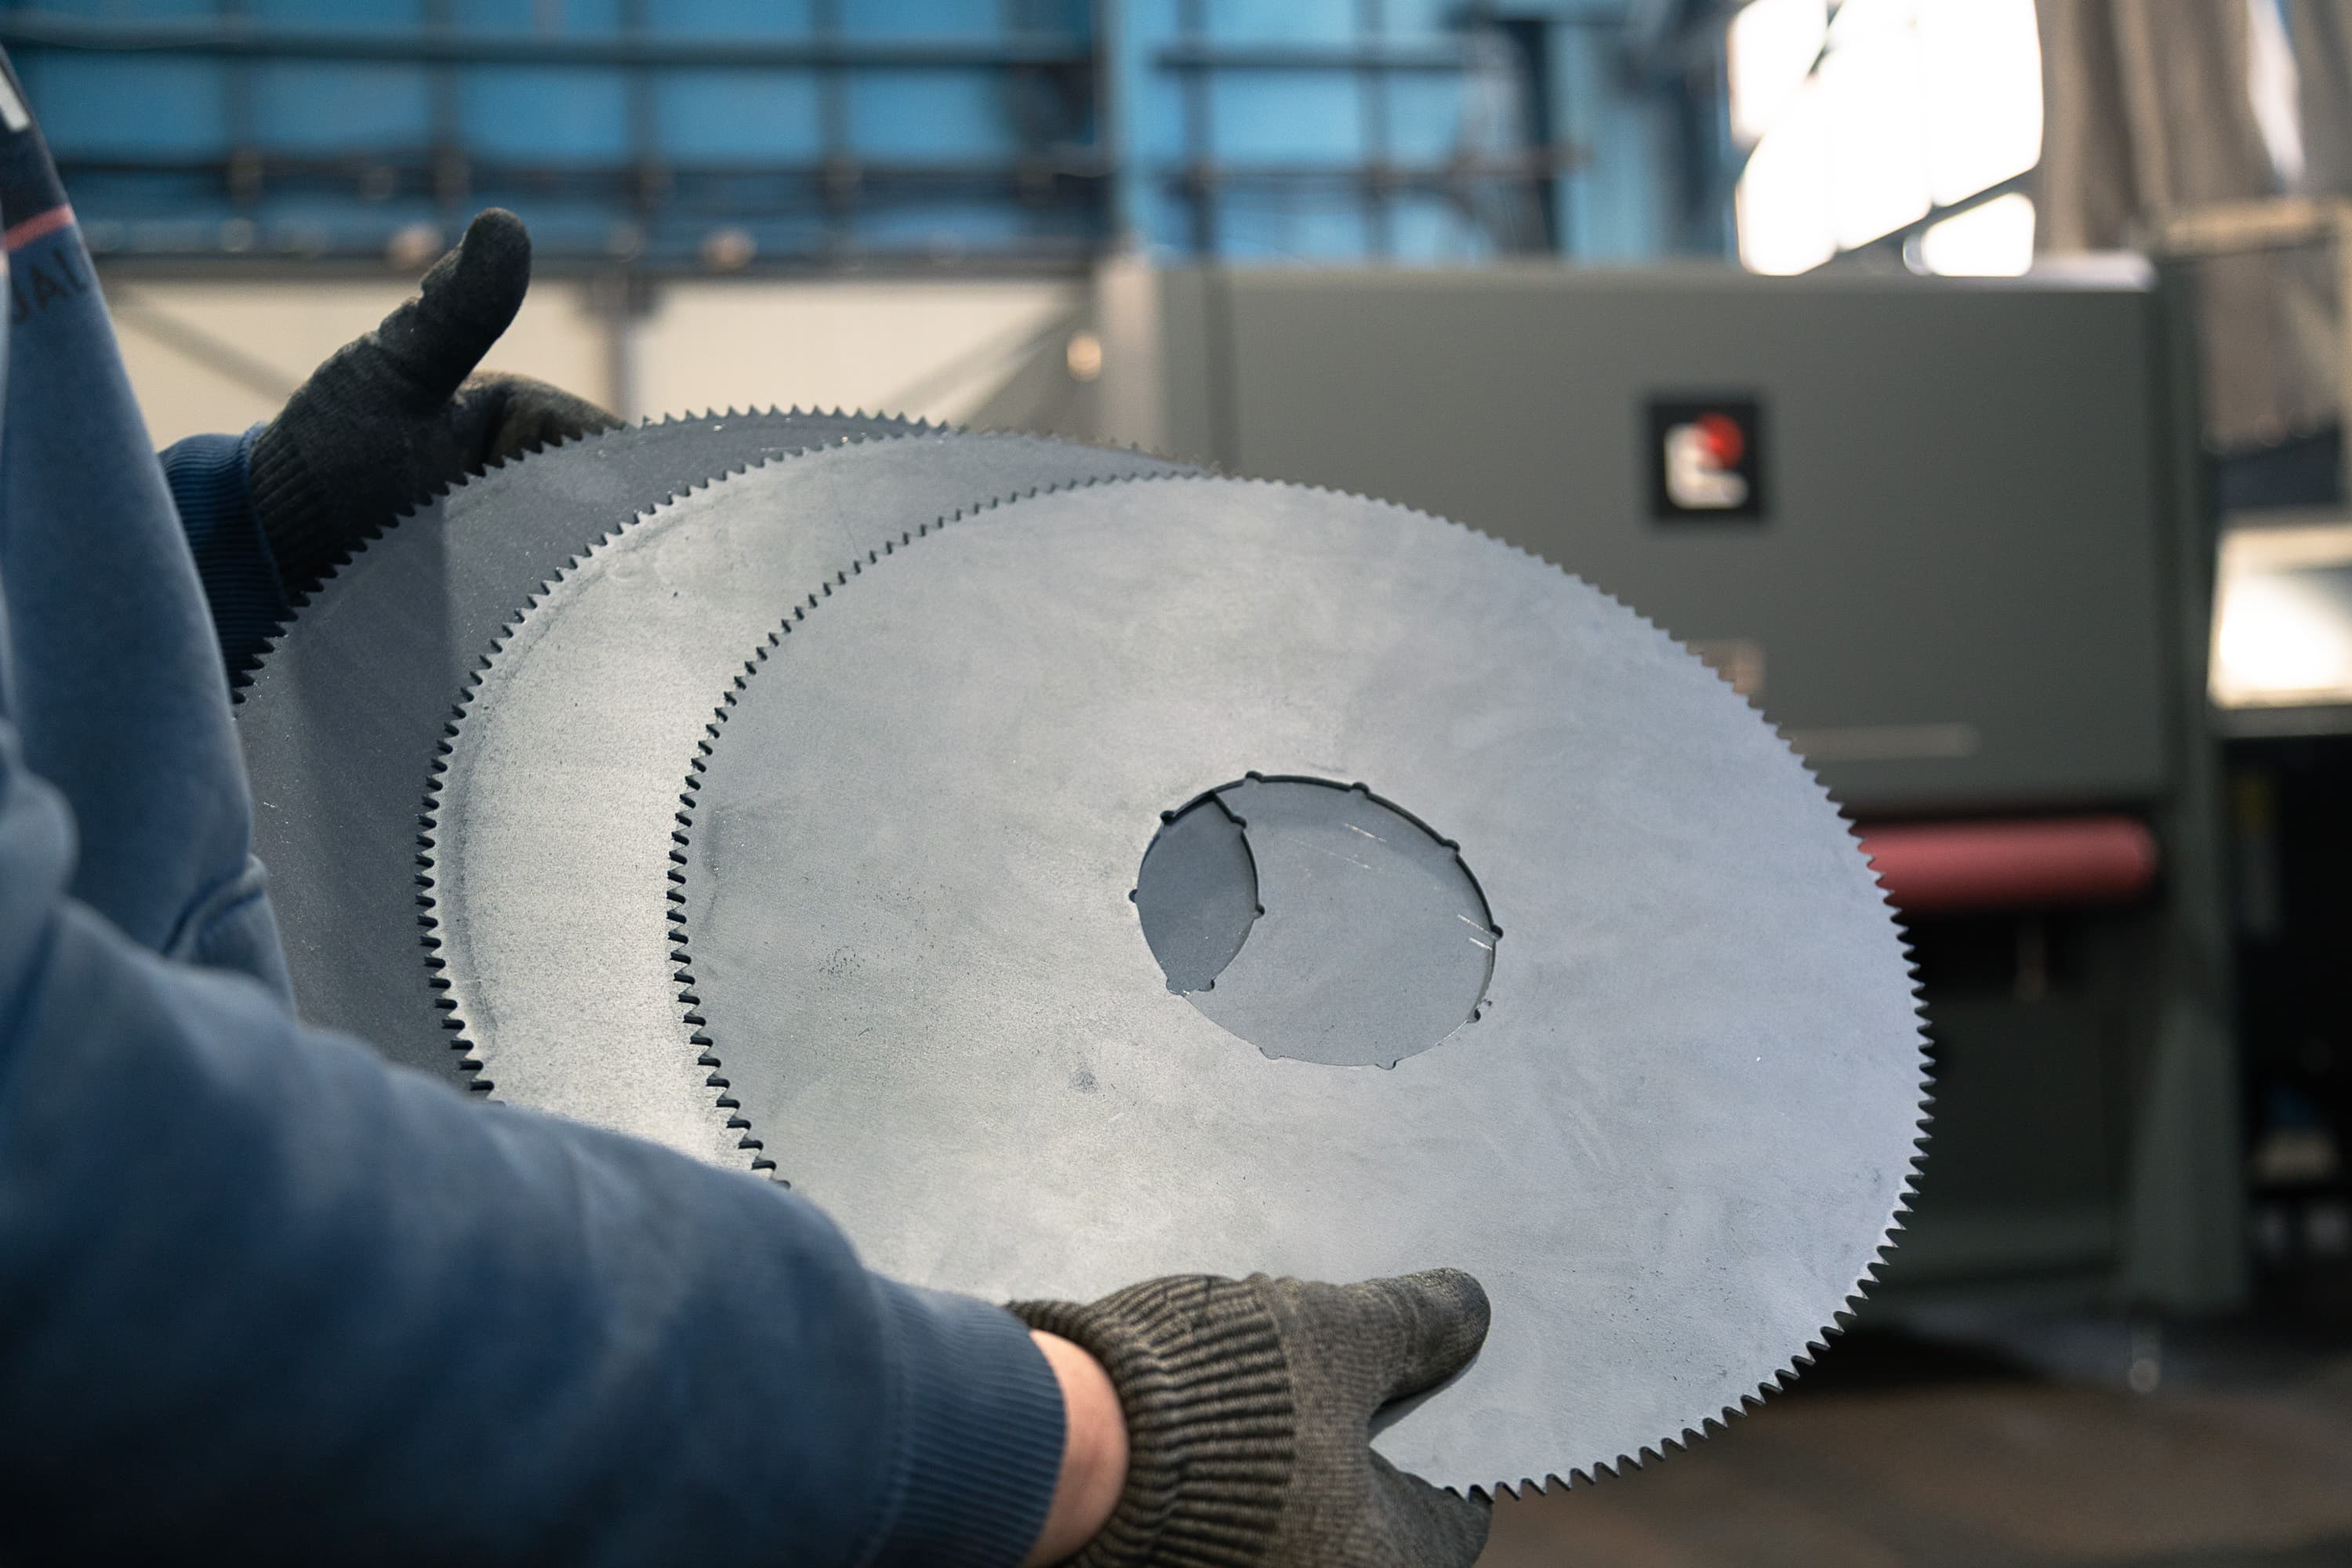
All three operations are done by the same machine; only the amount of delivered energy differs. When cutting, the beam passes fully through the material and separates the shape. When engraving, it removes a thin layer of material, leaving a shallow groove with measurable depth. When marking, no material is removed — the beam only heats the surface and changes its colour or structure, so it stays smooth.
- Cut — the beam goes all the way through, separating the part from the sheet.
- Engraving — material removal, creating depth (typically 0.05–0.5 mm).
- Marking — no removal, only a surface colour change, zero depth.
Marking types and the right material
The result you get depends on the combination of method and material. Not every technique suits every surface.
- Annealing — controlled heating creates a dark, high-contrast mark on stainless steel and titanium without breaking the surface. Ideal where the corrosion-resistant layer must stay intact (medical, food industry).
- Etching / matte marking — shallow surface disruption into a light, matte mark. Works on most metals including aluminium and steel; fast and easy to read.
- Deep engraving — material removal to depth for a mark that resists abrasion and blasting. Suitable for nameplates, moulds, and parts in harsh environments.
What marking is used for
In practice a permanent mark has three main jobs, and they are often combined on a single part.
- Traceability — a serial number, Data Matrix, or QR code links the physical part to its production batch, material certificate, and quality check. Essential in the automotive and medical industries.
- Branding — a logo and manufacturer name directly on the part looks professional and protects against being mistaken for a counterfeit.
- Assembly aids — orientation marks, position numbers, or “this side up” arrows speed up assembly and reduce mistakes.
How to design a part for engraving
A few rules apply at the design stage for a quality result. Vector graphics (lines, outlines) suit text and outline logos; raster graphics (filled areas, photos) suit dense fills and gradients — but raster is slower and more expensive. Mind contrast, line width, and placement.
- Don't make text too small — below ~1.5 mm height it tends to be unreadable.
- Keep lines and gaps wide enough so they don't merge.
- Place engraving away from bends and too close to edges — the mark deforms during bending.
- For QR and data codes, ensure contrast and a quiet zone around the code, otherwise a reader won't scan them.
What to put in the file
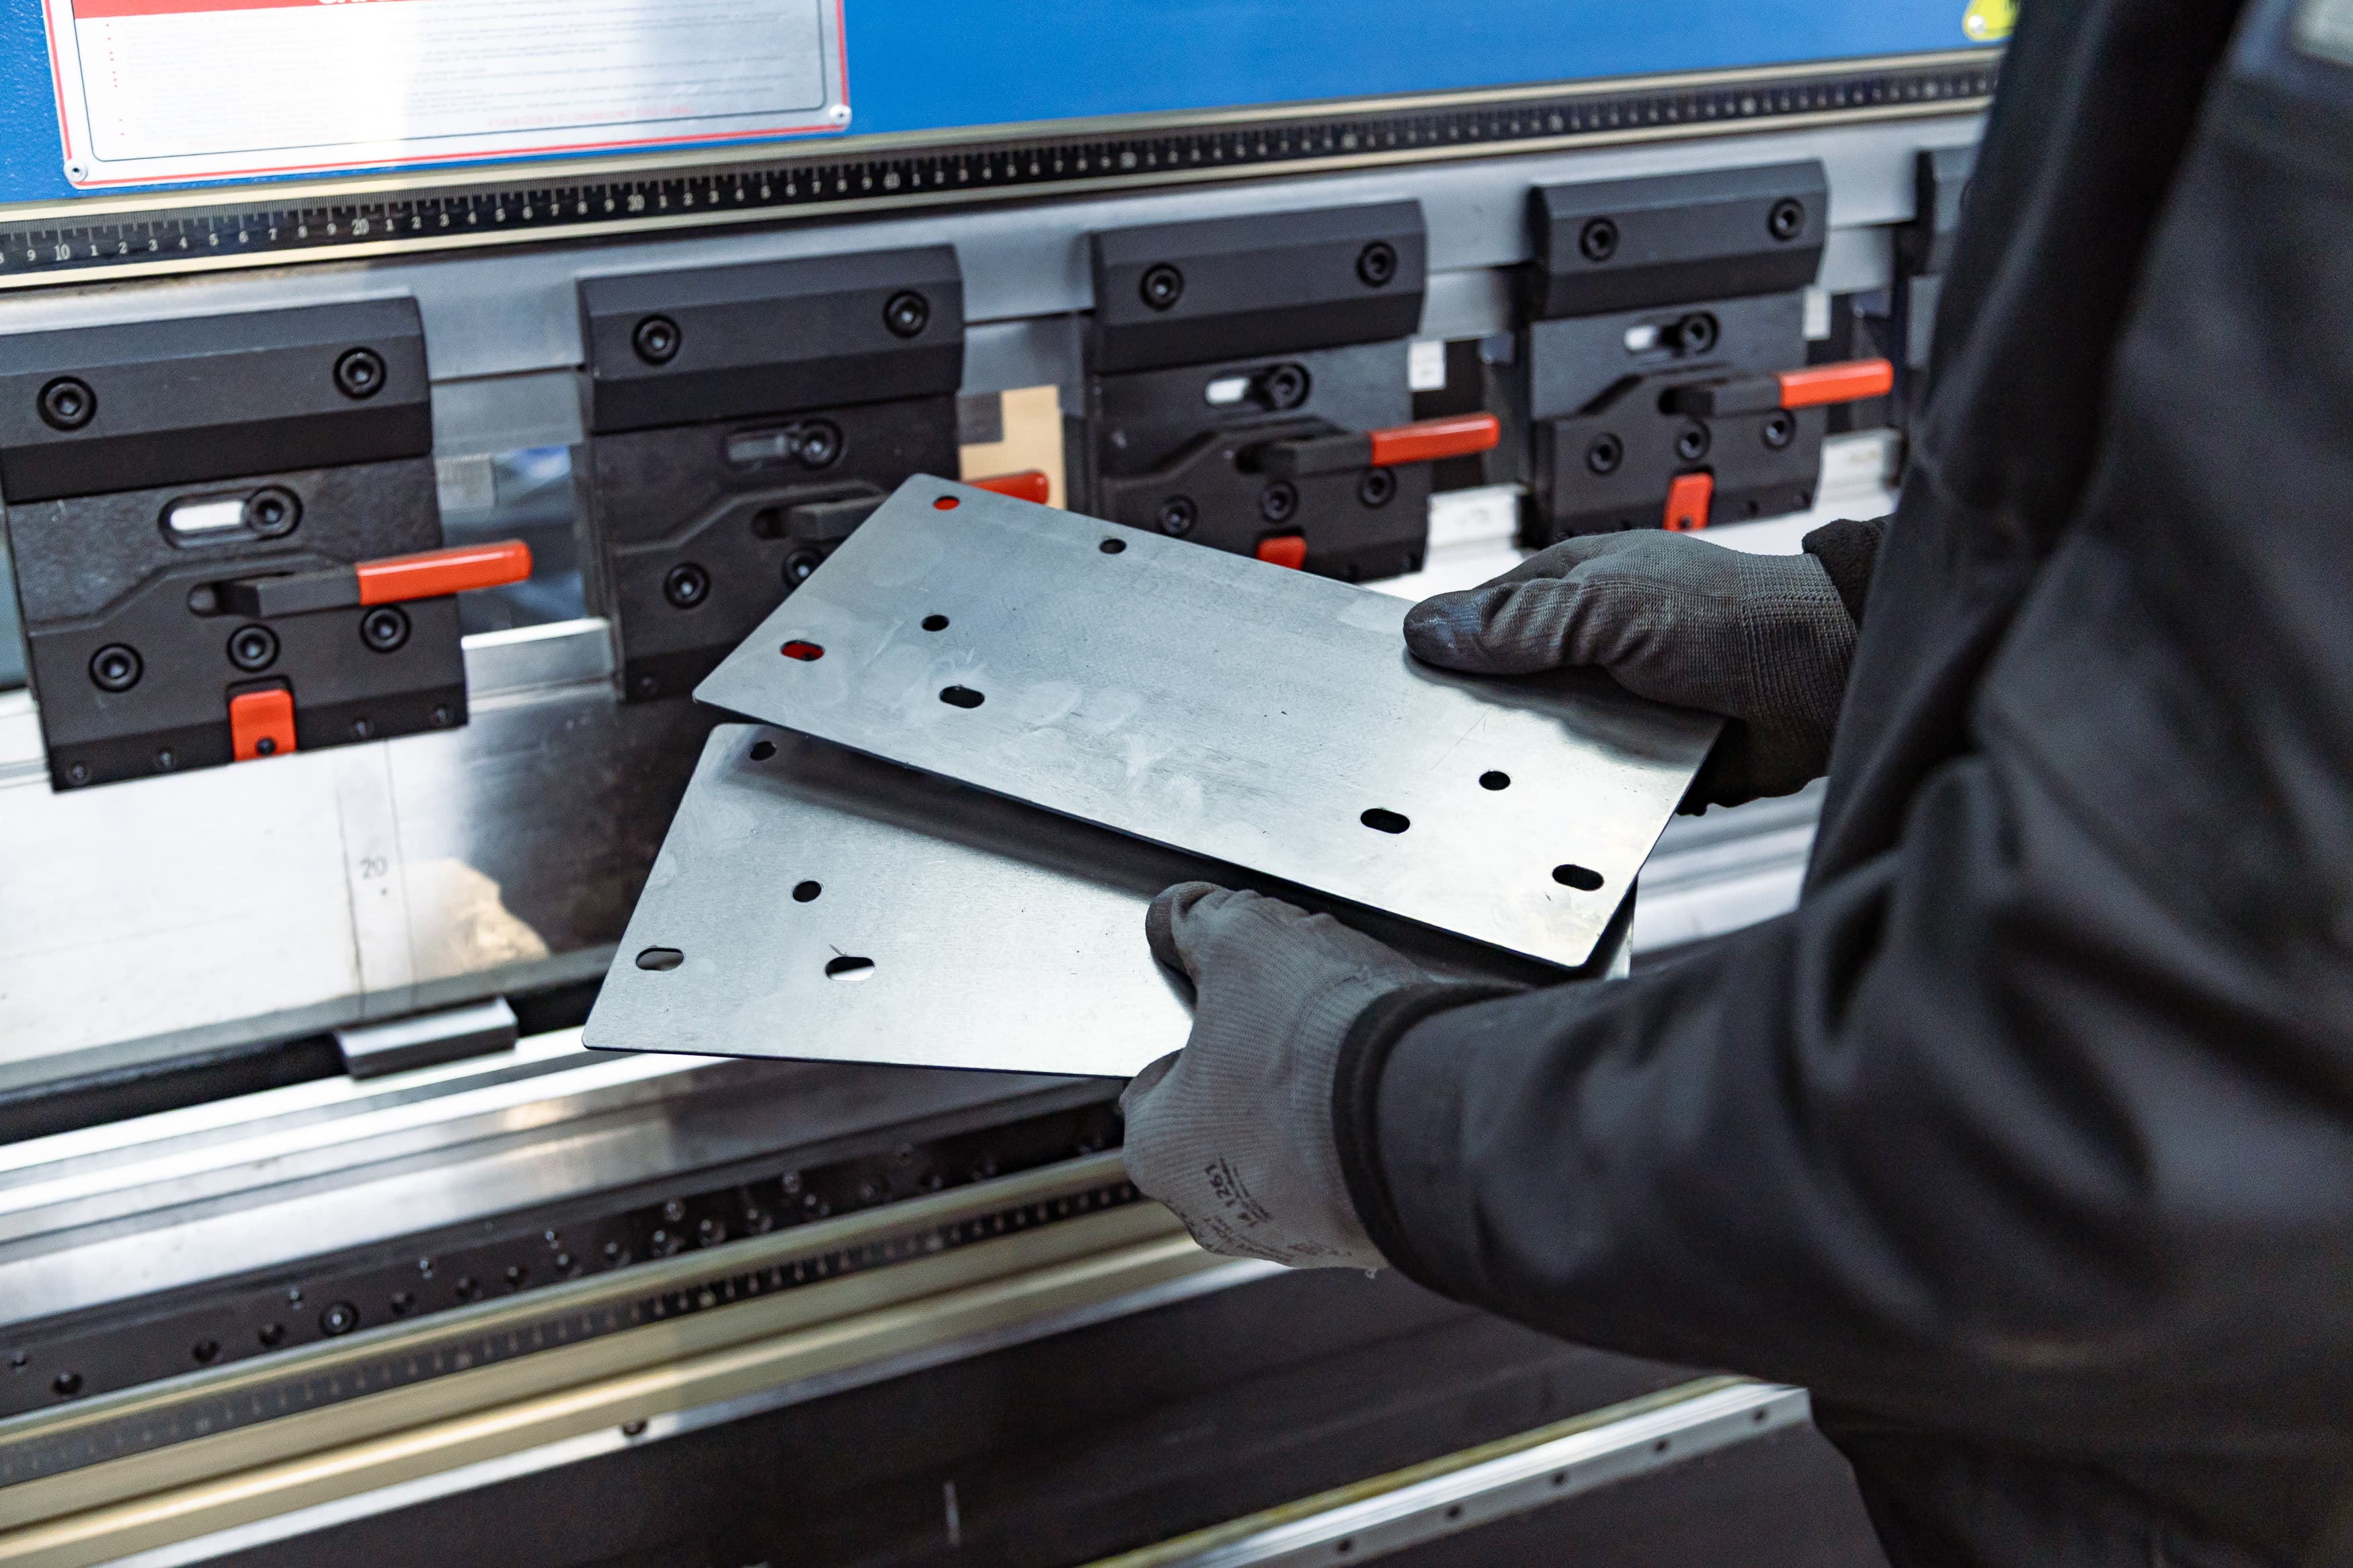
Never mix the cutting geometry and the engraving into one layer. In the DXF, create a separate layer (e.g. ENGRAVE) for everything that should only be marked, and keep the cutting contour on its own layer (e.g. CUT). That way the machine clearly distinguishes what to cut through and what to merely inscribe. Attach a note to the file with the required method (annealing / etching / deep) and any number that should vary (serial number).
Conclusion
Laser marking gives a part a permanent identity at practically no extra cost for a separate operation — you just need a file with the right layers. If you are unsure about the method or placement, contact us before submitting your order and we will propose the optimal solution.